
It is important to learn tree felling cut types if you are going to fell a tree. There is a technique by which you can cut trees to fall in the desired direction. Accidents are inevitable, especially when the whole job is dangerous. That’s why it’s essential to learn the tree-felling cut types to avoid huge disasters from happening!
The Tree Felling Cut Types
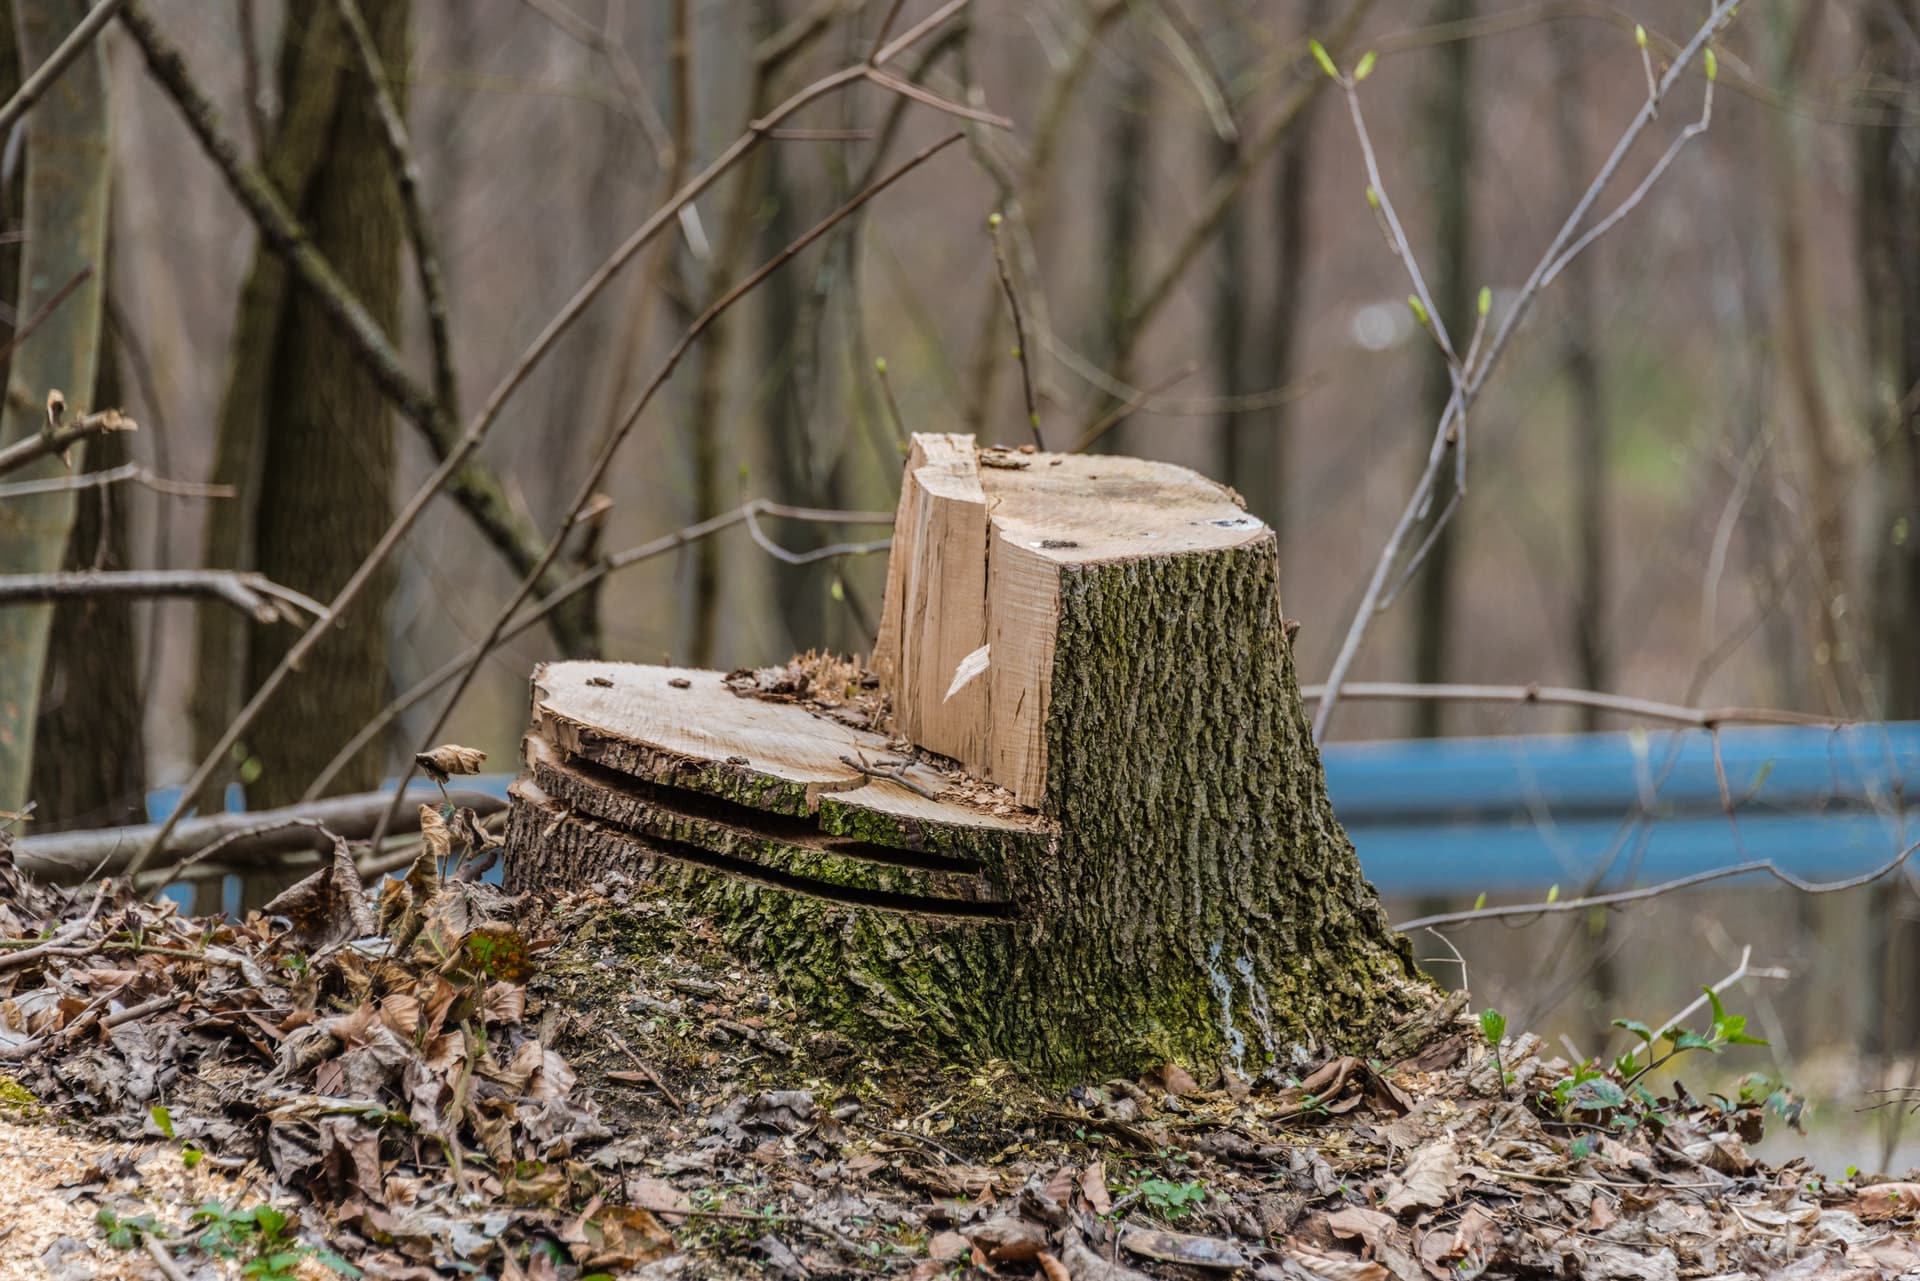
The details of specific cuts aren’t a matter to overlook. There are three main types of cuts that lead to Conventional, Open-faced, and Humbolt notches. Fellers make cuts in specific angles to result in an opening in the tree trunk (notch). The whole reason behind cutting in specific angles to make notches is to force the tree into falling in the aspired direction. No matter the type of cut you choose to utilize, remember to clear the debris from the tree base, plan an escape route, and diminish any safety hazards.
Let’s delve into the tree felling cut types.
The Top Cut
To achieve an open-faced notch, you must do a top cut at a 70-degrees downward angle. Commonly, the top cut is facing the aspired direction you want your tree to fall into and takes around ⅓ to ¼ from the tree’s diameter. If you wish to achieve the top cut, there are two steps you need to do:
The first step is to decide on a starting point: this step is crucial and that’s when beginners make the most mistakes. Fellers make mistakes when they don’t leave sufficient space for the down cut. Choosing the correct start point is no tacit knowledge, you need to learn how to do the correct calculations and marking.
For starters, you need to start by drawing a straight line that helps you decide on where you’re going to start your own cut. One of the most important remarks is to draw that straight line of the ⅓ of the trunk’s diameter which will serve as the center point. Choose between measuring either from the right or from the left. If you choose the right, make sure to measure a 110-degrees angle, if from the left, measure a 70-degree angle. Continue marking the spot where the corner meets the tree boundary.
The second step is to actually start cutting until you reach the ending point. That’s when the real work begins. Start with the starting point you’ve marked from the previous step, follow the marks immovably with your cutting tool. When you get to half the tree radius, immediately discontinue cutting.
One of the most commonly seen mistakes in this step is that some people have a hard time maintaining a straight line while cutting through the tree. Focus on training yourself to be able to cut through a precise straight line before deciding on engaging in a tree cut. Since, if your tree cut goes wrong, it might result in a disaster.
The Bottom Cut (commonly known as the undercut)
To achieve an open-faced notch, the undercut should be made at a 20 degrees’ upward angle. If you’re opting for a conventional notch, the undercut should be made at a flat horizontal, and 45 degrees if it’s a Humbolt notch. Here are the two steps to achieve this cut:
The first step being the starting point choice. You have a choice to resume cutting at the same angle that the top cut ends. But make sure that you have a minimum of a 70-degree top angle cut. For maximum efficiency, opt for a 90-degrees opening.
The second step is to cut through the line you’ve made. Same as the previous cut, opt for maintaining a cut that follows the straight line. If done perfectly, the result is a 90-degree opening.
Common tree cutting mistakes are those with angles and depth. You must make sure your measurements and calculations are perfect before you start cutting. The tree falling in an undesired direction may lead to disastrous consequences. Also, make sure to follow a straight line when cutting.
The Back Cut
The last one of the tree-felling cut types is the back cut. Before starting out, make sure you have a hinge close by. The hinge is needed to link about 95% of the tree to create a cut on the opposite side of the notch. The two steps to successfully complete this cut are as follows:
The first one is to mark the cutting spot on the opposite side of the notch. This exact spot should be equalized to the area where the undercut and top cut meets. Draw a straight line connecting the starting point and the ending point together.
An important remark is to make sure that the hinge’s length is exactly 1/10 of the diameter of the tree. Hence, forcing the endpoint into leaving out this space between the undercut and the notch.
The most frequent mistake in this type is the choice of the start point. Workers are seen cutting above the notched corner, which is completely wrong. Also, don’t make an overly deep cut on an overly sloping cut.
Tree Felling Cut Types of Notches
Broadly speaking, there are three main tree-felling cut types of notches: the Conventional, the Humbolt notch, and the Open-faced. In this article, I will be discussing these tree-felling cut notches in further detail.
What makes the difference between these types of notches. Well, definitely, the different types of angles used in cutting. Each one of these notches differs from the other in its benefits, disadvantages, and utilization. Nonetheless, if you’re just starting it in the felling business, we recommend you start with the open-face notch since it’s the easiest one to learn.
Starting with the Open-faced notch. As I mentioned, each type of notch is specified for a specific use. For this one, it’s definitely accurate. The open-faced notch is popular for its high accuracy and ease of use. Additionally, this notch is the safest of them all because the hinge stays in its position until the tree fall. On the other hand, it sure has its disadvantages. The open-faced notch takes a lot of time and may require the cutting of the hinge.
The second is the Conventional notch. This type of notch is commonly utilized among loggers. What makes this type of notch special is that it saves time and is more on the safe side. I’d be lying if I told you the Conventional notch has the same level of accuracy as the Open-faced notch. But it sure has a sufficient degree of accuracy. What isn’t likable about this notch is that the hinge tends to break earlier than the others.
The last type of notch to discuss is the Humbolt notch. What makes this notch special is its efficiency in saving wood. However, it’s not recommended you use it on an inclining tree since it produces kickback over the stump. Basically, this type of notch is where the base serves at an upward angle, at the same time the top cut is completely flat.
Conclusion
This article discusses the tree felling cut types and the tree felling notch types. Of course, these aren’t the only types of cuts and notches available to choose from. However, it has been proven that these are the most popular and the safest options. Keep in mind that achieving various notches is possible with a few tweaks in the starting points and cuts’ angles.
Due to the hazardous tendencies of this job, it’s extremely important to consider several factors before starting off. These factors include of course your degree of expertise to carry out this mission. If you’re a newbie, it’s a must to have an experienced individual around. Also, put into consideration the suitable cutting tools needed, the weather that day, the species of the tree, and have safety gear on you at all times.