Changing the head of a weedeater or a string trimmer is very simple. It will take less than two minutes. To do that like a pro, you need to know the exact way. In this article, we will discuss the procedure for both the straight shaft and curved shaft weedeater. To learn how to change a weedeater head, read this step by step short article.
Safety Measures Before Changing the Weedeater Head
- Make sure your weedeater is completely turned Off
- If it is an electric weedeater, unplug the power cord from the power source
- Make sure nobody turns On the weedeater while you change the head
Step One
Place a CSD (Common Screw Driver) into the hole of the head of your weedeater. You will find the hole at the endpoint of your weedeater’s metallic body. The hole is one of the parts of the trimmer. This is not a part of the trimmer head.
Grip the CSD tightly with the trimmer’s body so that it doesn’t move while you rotate the weedeater head.
Hunter Tip: If you don’t have any CSD, you can use a drift or drift like a metallic rod.
Step Two
Now, if your weedeater is a straight-shaft one, turn the head clockwise. On the contrary, you have to turn it anti-clockwise if it is a curved shaft trimmer. When you turn the head, do not loosen the CSD/Drift you placed into the hole of the trimmer head. This turning is for un-threading your weedeater head from its body. Turn the head until you loosen up completely.
Step Three
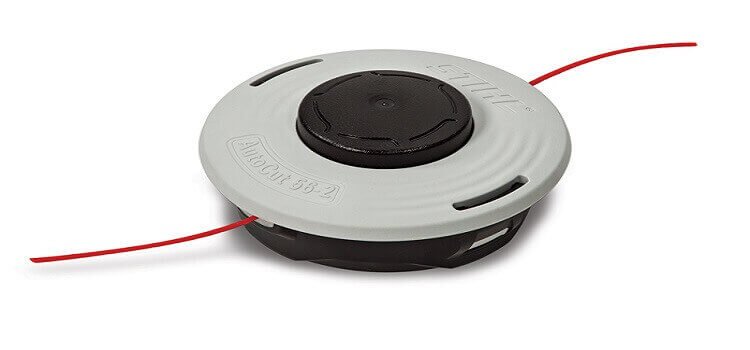
Take the new head that you want to use changing the old one. Place it onto the thread of the trimmer head. Now, you have to turn it in reverse order. Clockwise for the curved-shaft string trimmer and anti-clockwise for the straight-shaft trimmer. Turn it until you feel that it is tightened up properly. Remember, hand-tight is more than enough for your weedeater.
Hunter Tips:
Weedeater head never loosen up since it rotates the way that it can only tighten up itself! If it is not the case for your weedeater, then that one may have an issue to fix. Try to use the best string trimmer available on the market to avoid unexpected hazards.
Congratulation! You have done changing the head of your weedeater. You are ready to use your weedeater to clean the world!
When to Change a Weedeater Head?
There are some cases when changing your weedeater head brings extra efficiency. They are:
- If your weedeater head becomes unserviceable and thus unable to trim properly
- If the trimmer line tends to use extra string than it is supposed to
- When your trimmer line tear off now and then
- If your weedeater head gets stuck after running for a couple of minutes
- When your trimmer head has rotation issue but can’t be solved in any means
- If the weedeater head’s threads strip due to overload or heavy usage
- If the trimmer head is worn out and the weedeater line keeps coming out.
Conclusion
Don’t let your weedeater bring extra headaches to your smart gardening and lawn care activities. Know when to change your weedeater head and change it accordingly. When you take care of your weedeater, it will care for your lawn and garden in turns. Hopefully, this article on “how to change weedeater head” was helpful for you. Feel free to drop a line to share your opinion.